Unity Tutorial 01. Coding = Headaches
This was the part I was most looking forward to. Learning new tools and software to help create a game. I really enjoyed this lesson. It took a bit of time to get used to using Unity and Visual Studio but by the end of the three lessons I felt I was getting my grove and was understanding the software and the power that C# holds. If I had to say one negative it would be that I don't fully understand the code I was using and what it does. He spoke about the public and private for certain coding and I don't really understand why yet. I feel like over time and with a bit of extra research I'll start understanding why Im using certain codes rather then just following the tutorial and doing things because he tells me to.
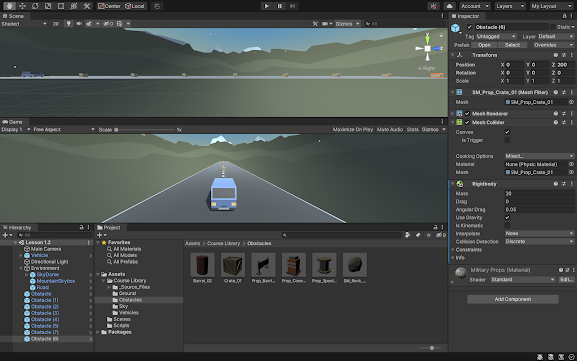
This was the layout I chose for my unity. I wanted to still be able to see images from the different Assets like the obstacles and vehicles so I felt this was the best option. I also wanted to be able to see both the Scene mode and Game mode from the different angles. I found the Command D shortcut useful when doing duplicates of the crates on the road for the vehicle to hit.


Comments
Post a Comment